Your hearing aids work hard. But those custom ear molds? They face earwax, moisture, and daily grime head-on. Learning how to clean hearing aid ear molds properly isn’t just about hygiene; it’s essential for clear sound, comfort, and making your investment last.
Skip this care, and you risk muffled audio, irritation, infections, or costly repairs. Let’s fix that.
Why Cleaning Your Ear Molds Isn’t Optional ⚠️
Think of your ear mold as a tiny microphone guard inside your ear canal. It’s ground zero for:
-
Earwax (cerumen): Your body’s natural defender. But it clogs sound ports fast. Like mud on a speaker. 🎙️➡️🧱
-
Skin oils & sweat: Creates a sticky film. Traps dirt. Breeds bacteria. Not good.
-
Dead skin cells: Everyone sheds. They collect in the mold’s nooks.
-
Moisture: From humidity or perspiration. A playground for microbes.
Neglect leads to trouble:
➔ Muffled, distorted sound (“Why is everything so quiet?”)
➔ Itchy, sore ears or infections (ouch!) 😣
➔ Bad odors (embarrassing)
➔ Cracked or damaged molds ($$$ to replace)
➔ Feedback (that annoying whistling) 🔇
Clean molds mean: Crystal-clear sound 🔊✅, comfy all-day wear, healthier ears, and devices that last longer. It’s a small task with huge rewards.
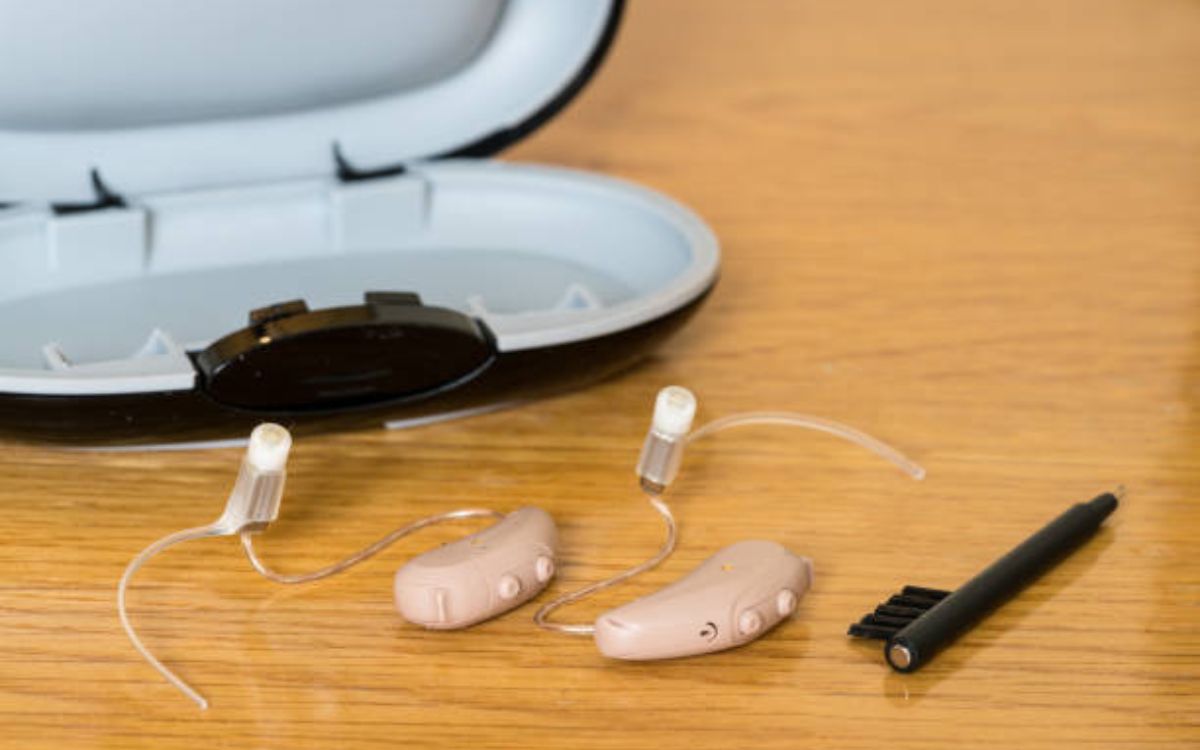
Your Essential Cleaning Toolkit 🧰 No Fancy Gear Needed!
Forget expensive gadgets. Here’s what you really need:
| Tool | Purpose | Why It’s Essential | Note |
|---|---|---|---|
| Lint-free cloth 🧻 | Daily wipe-down | Removes surface wax & oils | Microfiber or special hearing aid cloths work best. Avoid tissues! |
| Mild liquid soap 🧼 | Deep cleaning | Cuts grease without harsh chemicals | Dawn dish soap or baby shampoo. NO alcohol, bleach, or moisturizers! |
| Soft-bristle brush | Scrubbing ports & tubes | Dislodges stubborn wax | Usually comes with your hearing aids. Use gently! |
| Ear mold drying kit 🌬️💨 | Overnight drying | Pulls out hidden moisture | Uses desiccant (drying crystals) or a tiny fan. Prevents moisture damage. |
| Wax pick/loop 🪡 | Precision cleaning | Clears blocked sound ports | Use extreme care! Don’t scratch the mold. |
| Warm water 💧 | Rinsing | Washes away soap & debris | Not hot! Hot water warps plastic. |
🚫 What NOT to use:
-
Alcohol, solvents, or disinfectants (they degrade the plastic) ☠️
-
Toothpicks, paperclips, or sharp tools (scratches harbor bacteria)
-
Hot water or hair dryers (melts/deforms molds) 🔥
-
Toilet paper or napkins (leaves lint that clogs ports)
Your Step-by-Step Guide: How to Clean Hearing Aid Ear Molds Properly ✨
Follow this routine daily or weekly (deep clean weekly). Consistency is key!
-
Prep & Disconnect:
Wash YOUR hands first. Always! 👏
Remove the hearing aids. Detach the ear mold from the device (if possible – check your manual). Water + electronics = bad. If non-removable? Clean only the mold itself, avoiding the device body. -
The Quick Daily Wipe:
Take your lint-free cloth. Wipe the entire mold surface firmly. Pay extra attention to:-
The sound port (where sound exits) 👉 Point it towards light. See wax?
-
The vent (tiny hole for airflow)
-
The surface touching your ear.
This takes 10 seconds. Do it every night!
-
-
The Deep Weekly Wash (Crucial!):
-
Brush First: Use your soft brush to loosen visible wax from ports/vents. Brush away from the opening (so you push wax out, not in).
-
Soapy Bath: Fill a small bowl with lukewarm water. Add one drop of mild soap. Swirl.
-
Gentle Scrub: Dip the mold only into the soapy water. Use your dampened brush or cloth to gently scrub every surface. Focus on wax traps: ports, vents, curves. Be thorough but gentle. Never submerge non-removable hearing aids!
-
Rinse Thoroughly: Hold the mold under a slow stream of lukewarm water (not forceful!). Rinse all soap off. Soap residue irritates skin.
-
Dry Completely – The Non-Negotiable Step:
✘ DON’T shake it dry.
✘ DON’T use heat or paper towels.
✔ DO pat gently with your lint-free cloth.
✔ DO place it open-side-down in your drying kit overnight. Moisture hiding inside causes feedback and damage. Drying kits are your mold’s best friend. 😌
-
-
Tackle Stubborn Blockages:
If a sound port is clogged after washing/drying:-
Use a wax pick/loop. Gently insert the tip into the opening.
-
Hooked end? Carefully pull wax straight out.
-
Straight pick? Scrape the sides gently.
-
NEVER force it. If stuck, see your hearing care pro.
-
Pro Tip: Clean over a soft towel or basin. Dropping a tiny mold is easy!
Avoid These Common Cleaning Blunders! 🙅♂️
Even well-meaning people make mistakes. Steer clear:
| Mistake ❌ | Why It’s Bad | The Fix ✅ |
|---|---|---|
| Using alcohol or harsh cleaners | Eats away at plastic, makes it brittle & crack | Stick to mild soap & water only! |
| Not drying thoroughly | Trapped moisture = feedback, bacteria, damage | Always use a drying kit overnight. No shortcuts! |
| Using hot water | Warps the shape → poor fit → feedback & discomfort | Lukewarm only. Test with your wrist. |
| Forgetting the sound port/vent | Wax buildup blocks sound → “Why are my aids weak?” | Inspect & clean ports every single time 🔍 |
| Rough scrubbing or poking | Scratches harbor bacteria; punctures tubes | Gentle touch! Let soap do the work. |
| Using tissues or cotton swabs | Lint clogs ports; cotton tips push wax deeper | Lint-free cloths & specialized tools only! |
How Often? It’s Not One-Size-Fits-All 🔄
-
Daily: Wipe with a dry cloth. Every. Single. Night. Takes seconds.
-
Weekly: Deep soap-and-water wash + drying kit. Essential.
-
Extra Needs: Clean more often if you…
-
Sweat heavily 💦
-
Produce a lot of earwax
-
Live in a humid climate 🌴
-
Use skincare products near ears (lotions, hairspray)
-
Have had ear infections
-
Listen to your ears & your aids: More feedback? Waxy feel? Itchy? Clean ASAP!
When Cleaning Isn’t Enough: Time for Replacement? ⏳
Even perfect care won’t make molds last forever. Watch for:
-
Visible Damage: Cracks, deep scratches, or tears. Compromises fit and hygiene. 🚨
-
Hardened or Discolored Plastic: Becomes uncomfortable and less hygienic.
-
Persistent Odor: Lingering smell after cleaning? Material may be breaking down.
-
Constant Feedback: If cleaning doesn’t stop the whistling, the seal might be gone.
-
Change in Ear Shape: Weight loss/gain? Aging? Your ear canal changes. Old molds won’t fit right.
Typical lifespan: 1-3 years. See your hearing care professional annually. They’ll check fit and condition.
Keep Them Cleaner Longer: Pro Maintenance Hacks 🧠
-
Wash Hands First: Always! Oils transfer easily.
-
Hairspray & Makeup First: Apply before inserting aids. Keeps gunk off.
-
Store Smart: Use your drying kit as your nightly storage. Keep away from pets 🐕, kids, and extreme temps.
-
Wipe Before Inserting: Quick dry cloth swipe in the morning removes dust.
-
Schedule Professional Cleanings: Your audiologist has powerful vacuums and tools for a deep clean every 6-12 months.
The Clear Sound Conclusion 🎯
Knowing how to clean hearing aid ear molds properly is non-negotiable hearing aid ownership. It protects your health, your comfort, your wallet, and most importantly – your connection to the world of sound.
Those few minutes spent wiping, washing, and drying are an investment in crystal-clear conversations, enjoying music, and hearing life’s details.
Consistent, gentle care using the right tools (mild soap, brush, cloth, drying kit!) prevents most problems. Avoid harsh chemicals and heat.
Make cleaning part of your daily routine, like brushing your teeth. Your ears – and your hearing aids – will thank you with years of reliable, beautiful sound. Start tonight! 🌙✨