Your dentures are more than just replacement teeth – they’re your smile, your confidence, your ability to enjoy life’s simple pleasures. Learning how to clean dentures without damaging them is absolutely essential to protect your investment, maintain oral health, and avoid costly repairs or replacements. This comprehensive guide blends science-backed methods, real-life experiences, and product insights to give you the most effective, safest approach.
Why “Gentle” Isn’t Just Nice, It’s Necessary (The Science Behind the Care)
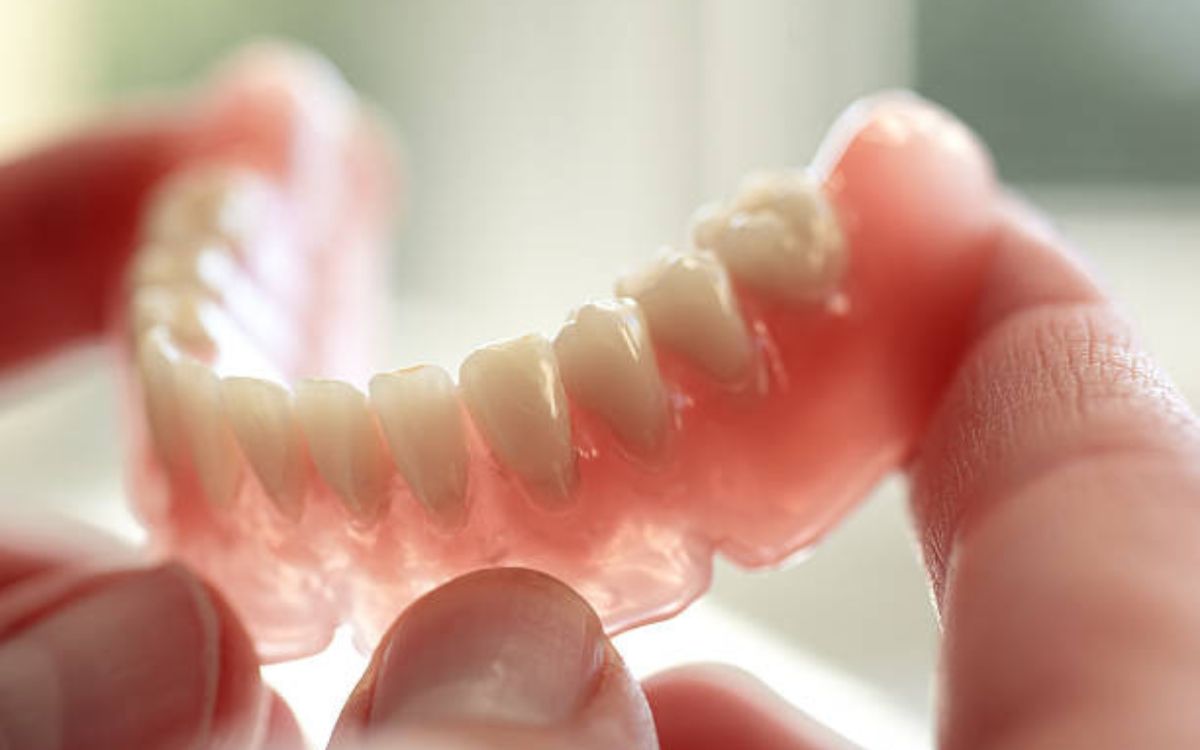
Dentures are intricate medical devices, typically made from acrylic resin (sometimes with metal frameworks). Unlike natural teeth, these materials are vulnerable:
-
Scratches are Enemy #1: A 2020 study in the Journal of Prosthodontic Research confirmed that abrasive cleaners (like regular toothpaste) create microscopic scratches on the acrylic surface. These tiny grooves become breeding grounds for Candida albicans (thrush) and bacteria, leading to bad breath, stomatitis (inflamed gums), and even systemic health risks 🌡️.
-
Heat is the Warper: Acrylic softens significantly above 60°C (140°F). Hot or boiling water distorts the fit – often subtly at first, leading to sore spots, difficulty chewing, and accelerated bone loss underneath.
-
Chemicals Cause Chaos: Harsh acids (vinegar, lemon juice) or strong alkalis (bleach) break down the acrylic polymer chains over time, making dentures brittle, faded, and prone to cracking. They can also corrode metal clasps.
Real Talk from Dr. Anya Sharma, Prosthodontist:
“I see patients every week whose poorly cleaned dentures are literally making them sick. The damage isn’t always obvious until it’s severe. Gentle daily care isn’t optional; it’s preventative medicine for your mouth.”
⚠️ STOP! The Top 5 Denture-Destroying Habits (And What Happens)
Avoid these like the plague:
-
Using Regular Toothpaste: “But it cleans my teeth!” you say? Toothpaste contains hydrated silica – a mild abrasive designed for enamel, which is harder than diamond. On acrylic? It’s like sandpaper. Result: Cloudy, scratched surfaces trapping bacteria. (Product Comparison: Colgate Total vs. Polident Dentu-Creme. The latter has ZERO abrasives, specifically formulated for acrylic).
-
Soaking in Hot Water or Boiling: Grandma’s old trick? A disaster. Result: Warped base that no longer fits snugly, causing friction sores and requiring expensive ($300-$800) relining or replacement.
-
Reaching for Vinegar/Bleach/Household Cleaners: “It gets rid of stains!” Yes, but at what cost? Bleach oxidizes and weakens acrylic; vinegar etches it. Result: Brittleness, cracking, faded pink gum tint, corroded metal parts.
-
Scrubbing with a Hard-Bristled Brush (or Worse, a Nail Brush): Aggressive scrubbing accelerates wear. Result: Deep scratches, premature thinning of teeth, rough surfaces irritating gums.
-
Sleeping in Them (Unless Specifically Advised): Your gums NEED a break! Saliva flow decreases at night, creating a perfect storm for bacterial growth trapped against tissue. Result: Increased risk of fungal infections (denture stomatitis), inflamed gums, and accelerated bone resorption.
✅ Your Foolproof, Step-by-Step Guide: How to Clean Dentures Without Damaging Them (Daily & Deep)
The Daily Ritual (5-10 Minutes – Non-Negotiable!):
-
The Pre-Brush Rinse: Safety First!
-
Why: Removes loose food particles before brushing. Prevents abrasive damage from hidden crumbs.
-
How: Always clean dentures over a folded towel or basin half-filled with water. 💦 Lukewarm water ONLY. Gently rinse away debris. (Personal Tip: My client, Mr. Davies, saved his £1200 dentures when they slipped – the towel cushioned the fall!)
-
-
The Gentle Brush: Tools & Technique Matter!
-
The RIGHT Brush: Crucial! Use a SOFT-bristled denture brush (e.g., DenTek or Polident brand). Toothbrush bristles are too stiff and concentrated. Notice the broader head and softer, denser filaments? Designed for coverage without gouging.
-
The RIGHT Cleaner: Apply a non-abrasive denture paste or gel (e.g., Polident Dentu-Creme, Fixodent Denture Cleanser Paste). Never regular toothpaste!
-
The Technique: Wet the brush. Apply cleaner. Clean every surface using gentle circular motions:
-
Outer chewing surfaces
-
Inner surfaces (facing your tongue/palate)
-
The gum-fitting surface (especially grooves where plaque hides)
-
Metal clasps (gently!)
-
-
Key: Let the cleaner do the work. No vigorous scrubbing! Think “massage,” not “scrub the pan.”
-
-
The Overnight Soak: Hydration & Hygiene
-
Why? Dentures dry out → warp. Soaking kills germs you miss while brushing.
-
The RIGHT Solution: Use an effervescent denture cleansing tablet (e.g., Polident 3-Minute Daily Cleanser, Fixodent Ultra Power Cleansing) dissolved in lukewarm water. Follow packet instructions precisely.
-
Science Bit: These tablets contain oxygenating agents (like sodium perborate) and mild enzymes that penetrate biofilm without damaging acrylic.
-
Metal Clasp Note: Use a solution specifically labeled “safe for metal” (e.g., Polident ProGuard). Avoid prolonged soaking in chlorine-based cleaners.
-
-
Duration: Minimum 10-15 mins (or overnight as per product instructions). 🌙 Never skip this!
-
-
The Final Rinse: Non-Negotiable!
-
Why? Cleansing solutions contain chemicals not meant for oral tissues.
-
How: Thoroughly rinse dentures under lukewarm running water for 30 seconds before reinserting. Taste it? Rinse more!
-
The Weekly Deep Clean (Optional but Recommended):
-
Ultrasonic Cleaners: Consider a denture-specific ultrasonic cleaner (e.g., Magnasonic Professional or iSonic F3900). These use high-frequency sound waves creating microscopic bubbles (“cavitation”) that dislodge debris from tiny crevices without physical contact. Studies show they reduce biofilm significantly more than brushing alone. Great for those hard-to-reach spots!
-
Professional Tablets: Once a week, use a stronger effervescent tablet designed for deeper cleaning/stain removal (e.g., Polident Overnight Whitening). Follow instructions carefully.
🌿 Natural Alternatives? Proceed with Extreme Caution!
-
Baking Soda Paste? Risky. While less abrasive than toothpaste, it’s still mildly gritty. If you must, use a dilute paste (1 tsp baking soda in 2 tbsp water) VERY occasionally, brush extremely gently, rinse impeccably. Not recommended daily.
-
Ultrasonic + Water Only? Safer than baking soda! Effective for dislodging debris but won’t kill microbes like a proper cleanser.
-
Vinegar/Lemon Juice/Boiling Water? ABSOLUTELY NOT. Guaranteed damage (see section 2!).
-
Microwave Cleaning? Only if your denture cleaner explicitly states it’s microwave-safe and you follow instructions EXACTLY. Many aren’t! Heat risk remains.
⏰ The Denture Care Schedule: Consistency is King
-
After Every Meal/Snack: Rinse with lukewarm water.
-
Daily (Minimum Once, Preferably Twice): Brush + Rinse (Steps 1 & 2).
-
Daily (Nightly): Soak (Step 3) + Final Rinse (Step 4).
-
Weekly: Consider a deep clean (Ultrasonic or specialized tablet).
-
Every 6 Months: Dentist/Denture Specialist Check-up! They spot microscopic cracks, check fit, clean professionally, screen for oral disease. Don’t wait for pain!
🌙 Storing Dentures Right: Moisture is Mandatory
-
Whenever Out of Your Mouth: Dentures MUST stay moist to retain shape.
-
Overnight: Store in fresh denture cleansing solution or pure lukewarm water if solutions irritate you. Change water daily!
-
Storage Container: Use a sturdy, lidded denture bath filled with enough liquid to cover them. Rinse the container daily! 😅 (Story: Mrs. Patel’s cat knocked her dry dentures off the nightstand – warped beyond repair. A lidded bath prevents pet disasters!)
-
Avoid: Dry tissues, paper towels, or leaving them exposed to air.
🔍 Red Flags: When to Call Your Dentist Immediately
-
Physical Damage: Visible cracks, chips, broken teeth, or bent clasps.
-
Fit Issues: Sudden looseness, rocking, or sharp pain points.
-
Stubborn Stains: Deep stains untouched by proper cleaning.
-
Persistent Odors: Bad smell remains after thorough cleaning/soaking.
-
Oral Discomfort: Sore spots, redness, bleeding gums, or a burning sensation even after following proper cleaning.
-
White Patches on Gums: Possible sign of fungal infection (denture stomatitis).
⚠️ Warning: DIY glues or repair kits are toxic and ruin dentures. Always seek professional repair!
💎 Conclusion: Your Smile’s Longevity Starts Tonight
Mastering how to clean dentures without damaging them is the single most impactful thing you can do for their lifespan, your oral health, and your wallet. It’s not complicated, but it requires consistency and the right tools. Remember:
-
Ditch the Toothpaste & Hot Water: Embrace denture-specific cleaners and lukewarm water.
-
Invest in the Right Tools: A soft denture brush and quality cleanser are non-negotiable.
-
Soak Faithfully: Overnight hydration prevents warping and kills germs.
-
Rinse Meticulously: Protect your gums from chemicals.
-
See Your Dentist: Biannual check-ups are your safety net.
By following this gentle, scientifically-backed routine, you ensure your dentures remain comfortable, functional, and aesthetically pleasing for years to come. Your confident smile is worth it! 😊